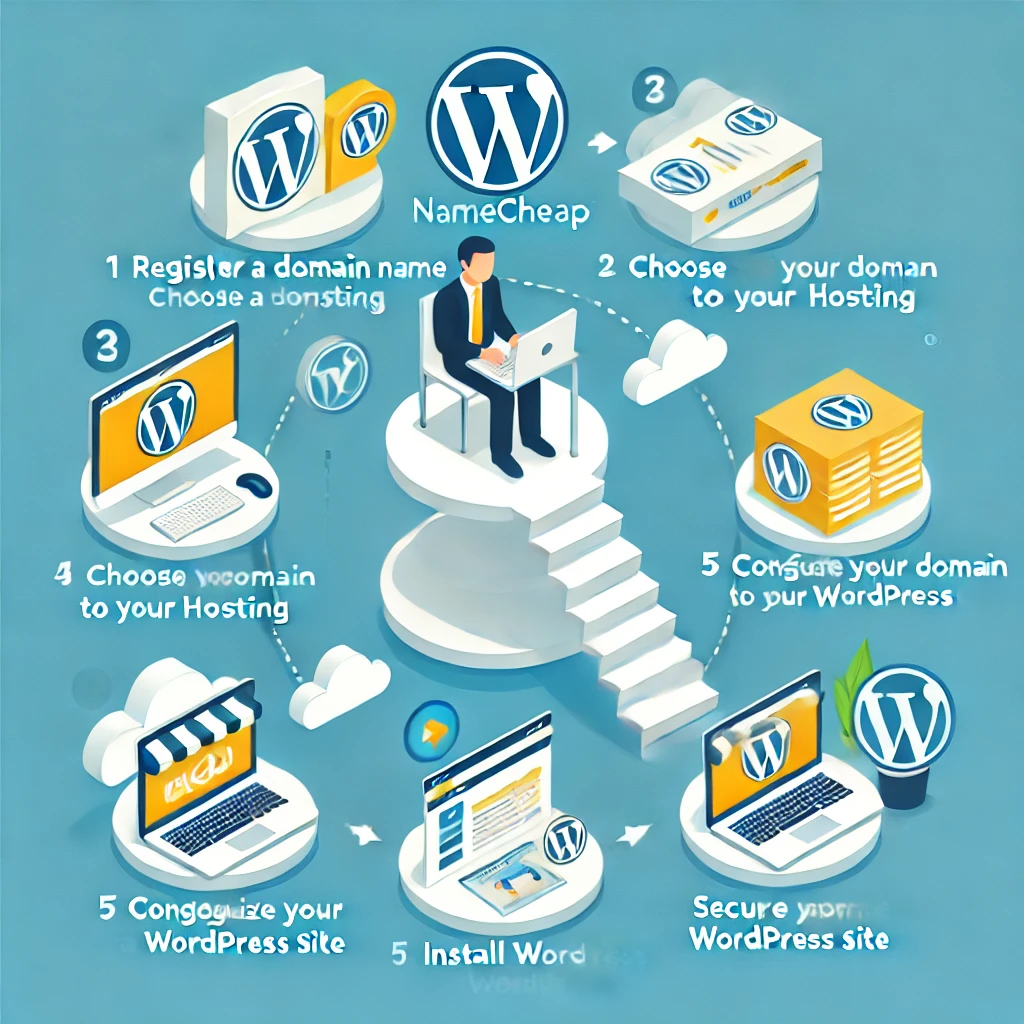
Hello Guys Now I Publish new article about Create WordPress site Namecheap. Creating a WordPress site can be a rewarding venture, whether for personal blogging, business, or e-commerce. Namecheap is a reliable and affordable option for registering your domain and hosting your WordPress site. This guide will walk you through the steps to create a WordPress site with Namecheap.
Step 1: Register a Domain Name
The first step to creating a WordPress site with Namecheap is to register a domain name. Your domain name is your website’s address on the internet.
- Visit Namecheap’s Website: Go to Namecheap.com.
- Search for a Domain: Use the search bar to find an available domain name that suits your needs. Try to choose a name that is easy to remember and relevant to your site’s content.
- Add to Cart and Purchase: Once you find an available domain, add it to your cart and proceed to checkout. Namecheap often has promotions, so look out for any discounts.
- Complete the Purchase: Follow the prompts to complete your purchase, creating an account if you don’t already have one.
Step 2: Choose a Hosting Plan
After securing your domain, the next step is to choose a hosting plan. Namecheap offers various hosting options, but for a WordPress site, their shared hosting plans are typically the most suitable and cost-effective.
- Navigate to Hosting Plans: On Namecheap’s website, go to the hosting section.
- Select a Plan: Namecheap offers several plans such as Stellar, Stellar Plus, and Stellar Business. For beginners, the Stellar plan is usually sufficient. If you expect higher traffic or need more storage, consider the Stellar Plus or Stellar Business plans.
- Add to Cart and Checkout: Add your chosen plan to the cart and proceed to checkout. Ensure you select the correct domain to associate with your hosting plan.
Step 3: Connect Your Domain to Your Hosting
Now that you have both a domain and a hosting plan, you need to connect the two.
- Access Your Dashboard: Log in to your Namecheap account and go to the dashboard.
- Navigate to Domain List: Click on ‘Domain List’ from the left-hand menu.
- Select Your Domain: Find the domain you purchased and click ‘Manage.’
- Update Nameservers: In the ‘Nameservers’ section, select ‘Namecheap Web Hosting DNS.’ This connects your domain to your Namecheap hosting.
Step 4: Install WordPress
With your domain and hosting connected, you can now install WordPress.
- Access cPanel: In your Namecheap dashboard, find your hosting plan and click ‘Go to cPanel.’
- Find Softaculous Apps Installer: In cPanel, scroll down to the ‘Softaculous Apps Installer’ section and click on it.
- Select WordPress: Within Softaculous, find and select WordPress.
- Install WordPress: Click the ‘Install Now’ button. Fill in the required information, such as the domain, site name, and admin account details. Click ‘Install’ to begin the process.
Step 5: Configure Your WordPress Site
Once WordPress is installed, you need to configure it to match your preferences.
- Access WordPress Dashboard: Go to
yourdomain.com/wp-adminand log in with the admin credentials you created during installation. - Choose a Theme: WordPress comes with several default themes. To choose a different one, go to ‘Appearance’ > ‘Themes’ > ‘Add New.’ Browse the available themes and install one that suits your site’s purpose.
- Install Essential Plugins: Plugins add functionality to your WordPress site. Some essential plugins include:
- Yoast SEO: Helps optimize your site for search engines.
- Akismet Anti-Spam: Protects your site from spam comments.
- WPForms: Allows you to create contact forms easily.
- Jetpack: Offers a suite of tools for security, performance, and site management.
- Create Pages and Posts: Start adding content to your site. Create essential pages like ‘Home,’ ‘About,’ and ‘Contact’ by going to ‘Pages’ > ‘Add New.’ For blog content, go to ‘Posts’ > ‘Add New.’
Step 6: Customize Your Site
Customizing your WordPress site makes it unique and tailored to your brand.
- Set Up Menus: Go to ‘Appearance’ > ‘Menus’ to create navigation menus. Add pages, posts, and custom links to your menu.
- Customize Widgets: Widgets add content and features to your site’s sidebars and footers. Go to ‘Appearance’ > ‘Widgets’ to add and arrange widgets.
- Set Up Permalinks: Optimize your URL structure by going to ‘Settings’ > ‘Permalinks.’ Select the ‘Post name’ option for cleaner URLs.
Step 7: Secure Your WordPress Site
Security is crucial for any website. Namecheap provides free SSL certificates with some hosting plans. Ensure your site is secure by following these steps:
- Activate SSL: In your Namecheap dashboard, find the SSL certificate section and activate it for your domain.
- Install a Security Plugin: Consider plugins like Wordfence Security or Sucuri to protect your site from malware and attacks.
- Keep Everything Updated: Regularly update WordPress core, themes, and plugins to the latest versions to prevent vulnerabilities.
Step 8: Launch and Promote Your Site
With everything set up, it’s time to launch and promote your site.
- Check Everything: Before launching, thoroughly check your site for broken links, spelling errors, and overall functionality.
- Submit to Search Engines: Submit your site to search engines like Google and Bing to get indexed. Use tools like Google Search Console to monitor your site’s performance.
- Promote Your Site: Share your site on social media, engage in online communities, and consider running ads to drive traffic to your new site.
Conclusion
Creating a WordPress site with Namecheap is a straightforward process that involves registering a domain, choosing a hosting plan, connecting the domain to the hosting, installing WordPress, and customizing your site. By following these steps, you can successfully create a WordPress site with Namecheap and begin sharing your content with the world.


Every time I visit your website, I’m greeted with thought-provoking content and impeccable writing. You truly have a gift for articulating complex ideas in a clear and engaging manner.