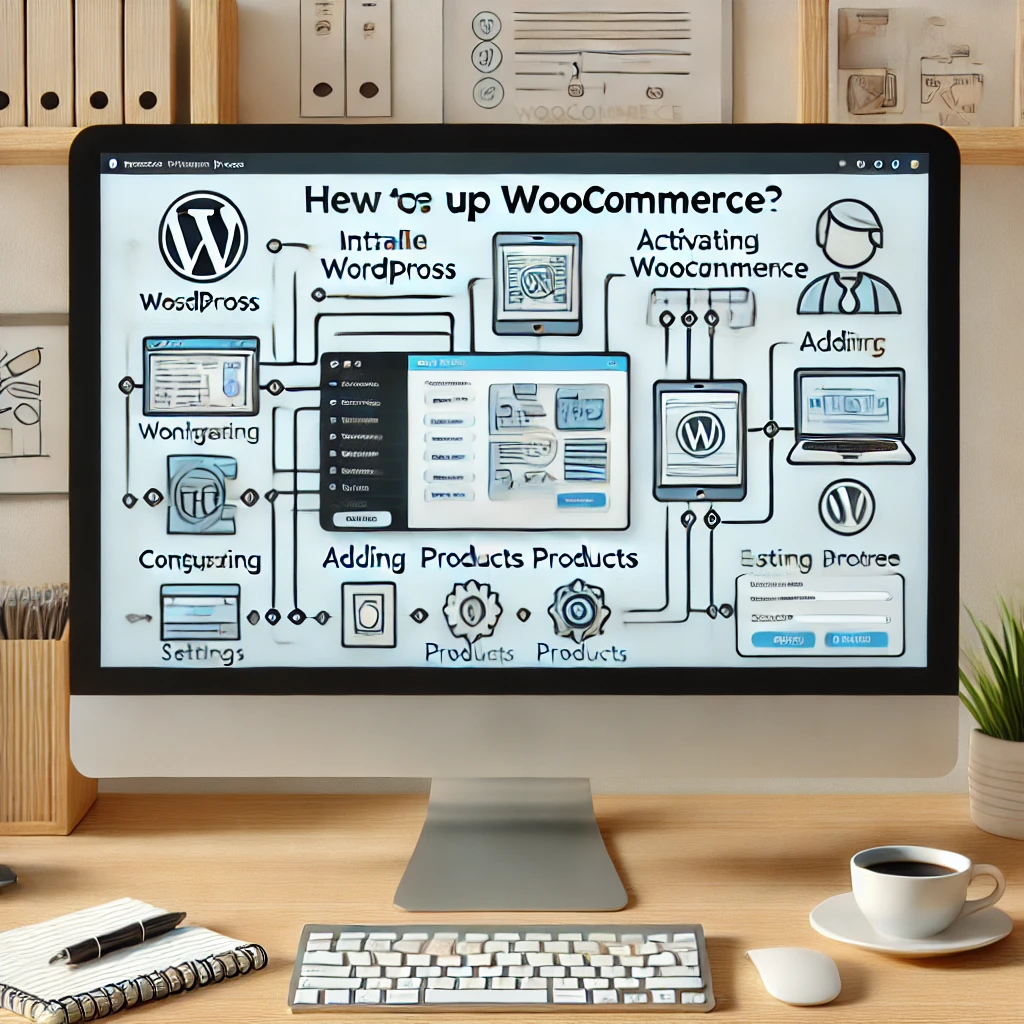
Hello Everyone Today I publish New article about this article How to Set Up WooCommerce on Your WordPress Site. Setting up WooCommerce on your WordPress site is a fantastic way to turn your website into a fully functional online store. WooCommerce is one of the most popular e-commerce plugins for WordPress, offering extensive features and flexibility. In this guide, we’ll walk you through the WordPress WooCommerce setup process step-by-step to ensure you can start selling products online in no time.
Step 1: Install WordPress
Before you can set up WooCommerce, you need a WordPress site. If you haven’t installed WordPress yet, follow these steps:
- Choose a Hosting Provider: Select a reliable hosting provider that supports WordPress. Popular options include Bluehost, SiteGround, and WP Engine.
- Install WordPress: Most hosting providers offer a one-click WordPress installation. Log in to your hosting account, find the WordPress installer, and follow the instructions to set up your site.
- Set Up Your WordPress Site: After installation, you’ll need to set up your WordPress site by choosing a theme, customizing your site’s appearance, and configuring essential settings.
Step 2: Install WooCommerce
Once your WordPress site is ready, the next step in the WordPress WooCommerce setup is installing the WooCommerce plugin.
- Navigate to Plugins: In your WordPress dashboard, go to “Plugins” > “Add New.”
- Search for WooCommerce: In the search bar, type “WooCommerce” and press Enter.
- Install WooCommerce: Click “Install Now” next to the WooCommerce plugin by Automattic.
- Activate WooCommerce: Once installed, click “Activate” to enable the plugin on your site.

Step 3: Configure WooCommerce
After activating WooCommerce, you will be guided through the initial setup process.
- Store Setup: Enter details about your store, including your location, currency, and the type of products you plan to sell (physical, digital, or both).
- Payment Setup: Choose the payment methods you want to offer. WooCommerce supports various options, including PayPal, Stripe, and direct bank transfer. Follow the instructions to configure each payment gateway.
- Shipping Setup: Define your shipping zones, methods, and rates. You can set up free shipping, flat rate shipping, or real-time shipping rates using third-party services.
- Recommended Plugins: WooCommerce might suggest additional plugins to enhance your store’s functionality, such as Jetpack, WooCommerce Services, or Mailchimp for WooCommerce. Install and activate these plugins as needed.
Step 4: Add Your Products
With WooCommerce configured, the next step in the WordPress WooCommerce setup is adding products to your store.
- Go to Products: In your WordPress dashboard, go to “Products” > “Add New.”
- Enter Product Details: Provide essential details about your product, including the name, description, and price. You can also add images, SKU numbers, and manage stock levels.
- Product Categories and Tags: Organize your products by adding categories and tags. This helps customers find products easily.
- Product Data: Use the “Product Data” section to specify whether the product is simple, grouped, external/affiliate, or variable. Set prices, manage inventory, and configure shipping settings.
- Publish Your Product: Once you’ve entered all the necessary information, click “Publish” to add the product to your store.
Step 5: Customize Your Store
Customizing your store’s appearance and functionality is a crucial part of the WordPress WooCommerce setup process.
- Choose a Theme: WooCommerce is compatible with most WordPress themes, but for the best experience, choose a theme optimized for WooCommerce, such as Storefront or Astra.
- Customize Your Theme: Go to “Appearance” > “Customize” to adjust your theme’s settings, including colors, fonts, and layout. Ensure your store’s design reflects your brand identity.
- Create Essential Pages: WooCommerce automatically creates essential pages like Shop, Cart, Checkout, and My Account. Customize these pages as needed to provide a seamless shopping experience.
- Add Widgets and Menus: Enhance your store’s navigation by adding widgets and menus. Go to “Appearance” > “Widgets” and “Appearance” > “Menus” to configure these elements.
Step 6: Set Up Essential Plugins
Enhancing your WooCommerce store with additional plugins can improve functionality and customer experience.
- SEO Plugins: Install an SEO plugin like Yoast SEO to optimize your store for search engines.
- Security Plugins: Ensure your store is secure by installing security plugins like Wordfence or Sucuri.
- Backup Plugins: Regularly back up your site using plugins like UpdraftPlus or BackupBuddy.
- Analytics Plugins: Track your store’s performance with plugins like Google Analytics for WooCommerce.
Step 7: Test Your Store
Before launching your store, it’s crucial to test everything to ensure a smooth shopping experience.
- Place Test Orders: Simulate customer orders to check the functionality of your checkout process, payment gateways, and email notifications.
- Check Responsiveness: Ensure your store looks and functions well on various devices, including desktops, tablets, and smartphones.
- Optimize Site Speed: Use tools like Google PageSpeed Insights or GTmetrix to analyze and optimize your site’s loading speed.
Step 8: Launch Your Store
After completing the WordPress WooCommerce setup and testing your store, you’re ready to launch.
- Announce Your Launch: Promote your store launch on social media, email newsletters, and other marketing channels.
- Monitor Performance: Continuously monitor your store’s performance using analytics tools and make necessary adjustments to improve user experience and sales.
- Provide Excellent Customer Service: Ensure you have systems in place to handle customer inquiries, process orders efficiently, and manage returns or refunds.
Conclusion
Setting up WooCommerce on your WordPress site is a straightforward process that can transform your website into a powerful e-commerce platform. By following these steps, you’ll ensure a smooth WordPress WooCommerce setup and create a store that offers a seamless shopping experience for your customers. Happy selling!


